RB User Guide > Production > Envelopes and Labels > Printing labels > Setting up for online label printing
Setting up DYMO in Windows OS
RB9 only
If your computer has a Windows operating system, after downloading DYMO software, you must install it and configure your system to use a DYMO printer before printing labels from RB9.
Continued from Setting up for online label printing.
- After downloading the Windows version, execute the setup file.
- In the DYMO Connect – InstallShield Wizard screen’s dropdown, select the appropriate language for the installation of DYMO Connect, then click OK.
- In the DYMO Connect installation screen, click Next.
- In the License Agreement screen, click I accept the terms in the license agreement, then click Next.
- Leave the default Destination Folder as is, and click Next.
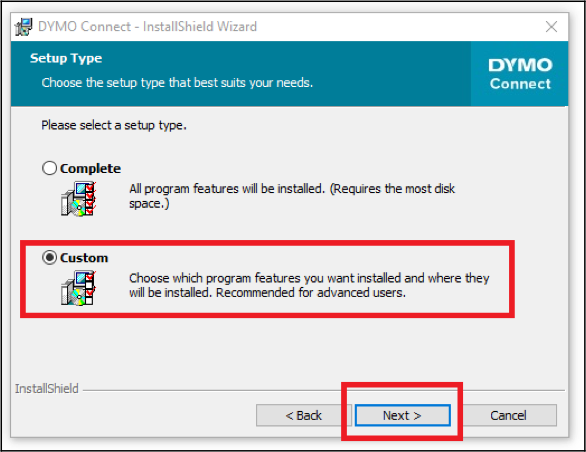
- In the Setup Type screen, click Custom, then click Next.
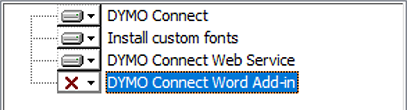
- In Custom Setup, select DYMO Connect Word Add-in, then click This feature will not be available.

NOTE: Skip this step if you want to use DYMO with Word
If you plan to use your DYMO label printer with Microsoft Word, you can skip this step. Instead choose Complete in Setup Type (step 6).
- When DYMO Connect Word Add-in is disabled, click Next.
- In the Ready to Install the Program screen, click Install.
- If the Files in Use screen appears, select Do not close applications. (A reboot will be required.), then click OK.
- In the InstallShield Wizard Completed screen, uncheck both Launch DYMO Connect and Improve DYMO products, then click Finish.
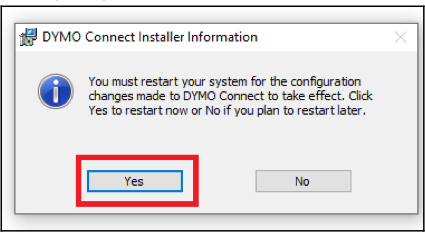
- When the “You must restart your system...” popup appears, click Yes to restart your system.
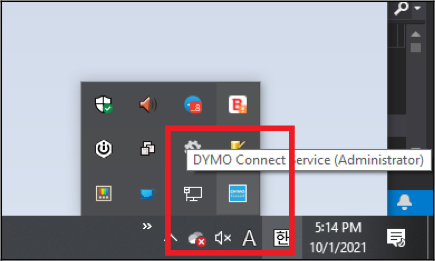
- Confirm whether the Dymo Connect Web service icon exists in the notification area from the Windows taskbar.
If the icon is missing:
- Check if the file exists in the following path:
C:\Program Files (x86)\DYMO\DYMO Connect\
- Select the “DYMO.Webapi.Win.Host.exe” file, and double click to execute.
- Right-click on the Dymo Connect icon from the notification area of the Windows taskbar. When the menu appears, click Diagnose.
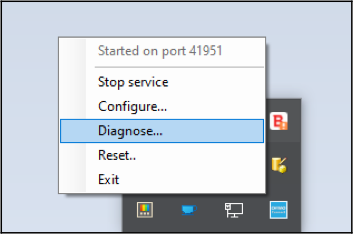
- If the DYMO Connect Service is properly implemented, the popup message will display the port information. Click OK.
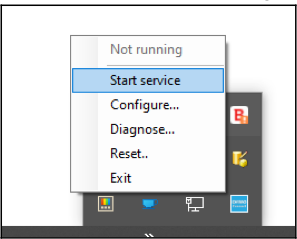
If a different message appears, click OK, then check the following:
- If the DYMO Connect Service is not running, click Start service.
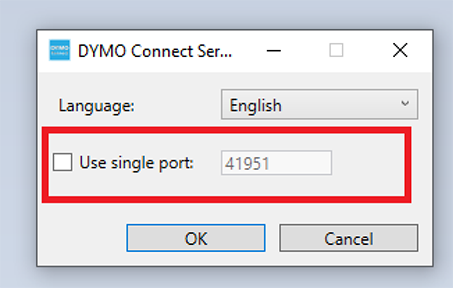
- For all other error messages, click Configure. Confirm Use single port is unchecked, and the port information is 41951.
Reference
Step-by-step instructions